
♥ Flatlays, when you’re on Instagram you’ve probably seen them sometimes(I also post them, so you should and if you haven’t… that means you don’t follow me, in that case: you can follow me right here ;-)). How to make the perfect flatlay, it can be quite difficult to style it right, but guess what? I’ve got some tips to make the perfect flatlay.
Flatlays, wanneer je op Instagram zit, kom je ze waarschijnlijk wel eens tegen. De perfect gestylede flatlay maken kan best een beetje lastig zijn, maar met wat tips en tricks die je in gedachten kunt houden, kom je een heel eind! Wanneer je geen idee hebt waar ik het over heb:
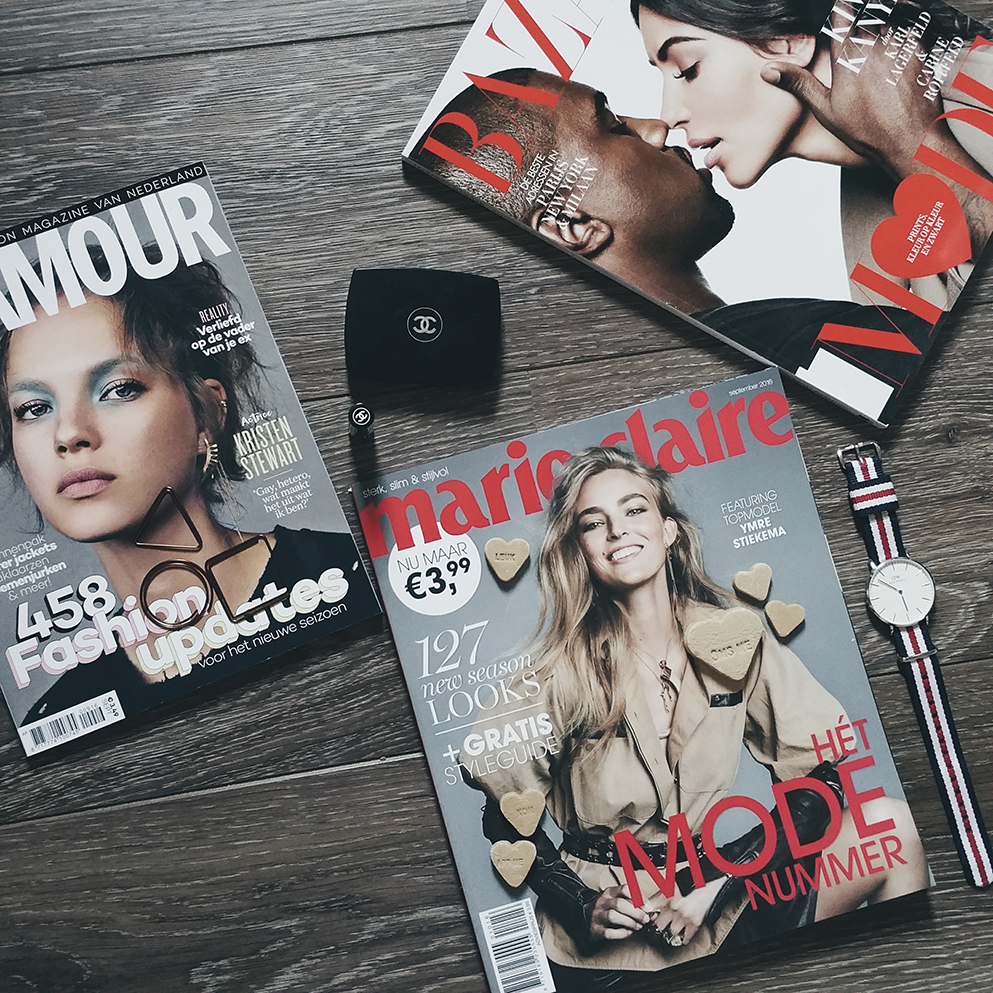
Een flatlay is een vierkante foto, van bovenaf genomen, waarbij meerdere voorwerpen op een bepaalde manier gestyled op één foto te zien zijn.
Matchy matchy
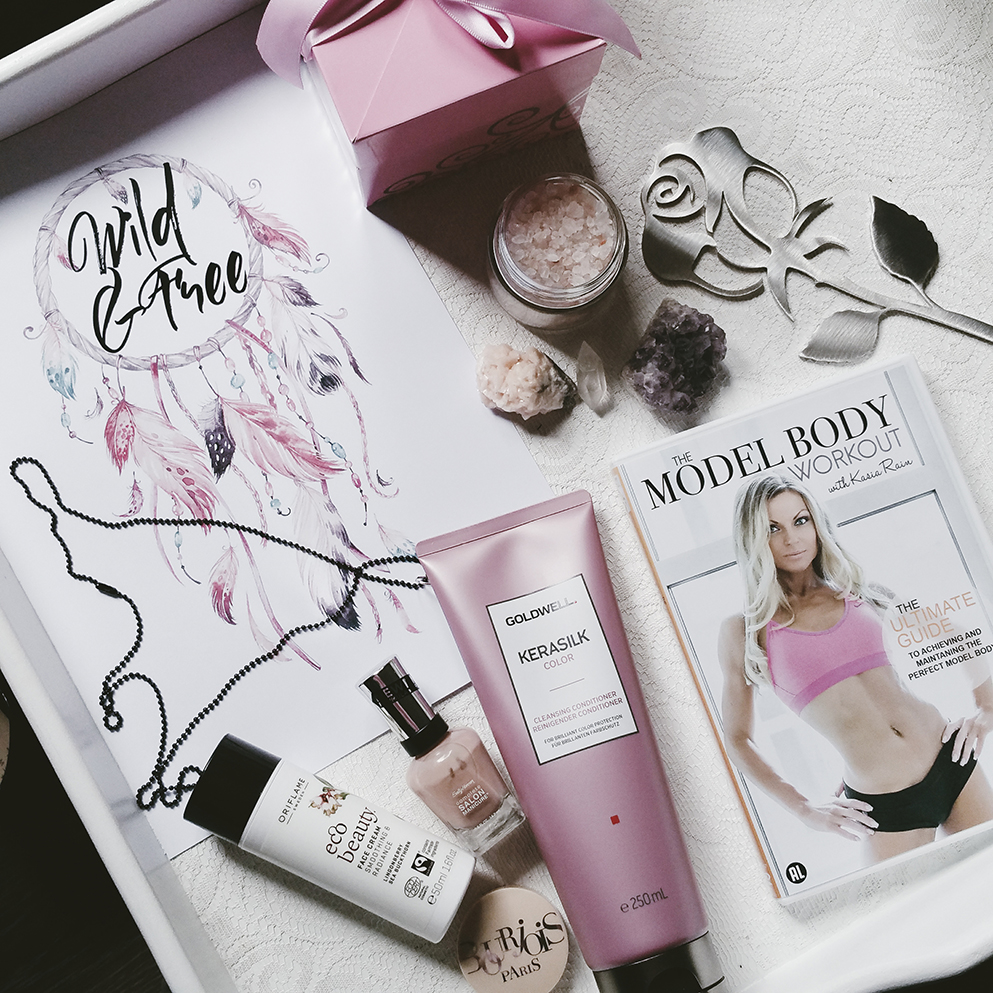
Ga voor kleuren die bij elkaar passen, en nog belangrijker: die in je feed passen. Accentkleuren kunnen ook heel tof zijn, maar wanneer je veel gebruik maakt van bijvoorbeeld donkere kleuren, is het raar als je ineens een felgekleurde flatlay plaatst (zo één waarbij je de helderheid van je telefoon moet aanpassen).
Gestyled maar ook weer niet
Het moet er gestyled uit zien, maar ook weer niet. Wanneer jij je make-up-doos op de grond leeg kiepert en er een foto maakt, kun je dit een flatlay noemen. Het ligt plat op de grond en je hebt een foto: flatlay, klaar. Maar in hoeverre dit er leuk en mooi uit ziet en of je er mee zult scoren.. Dat is te betwijfelen. Tenzij je alle flatlays op deze manier maakt, zie, ik heb je zojuist op een idee gebracht.
Gestyled, maar ook weer niet. Het is leuk wanneer bepaalde producten netjes naast elkaar liggen, en een aantal producten er “toevallig” zijn neergelegd. Natuurlijk zijn ze dit niet, overal is over na gedacht.
Het vierkantje
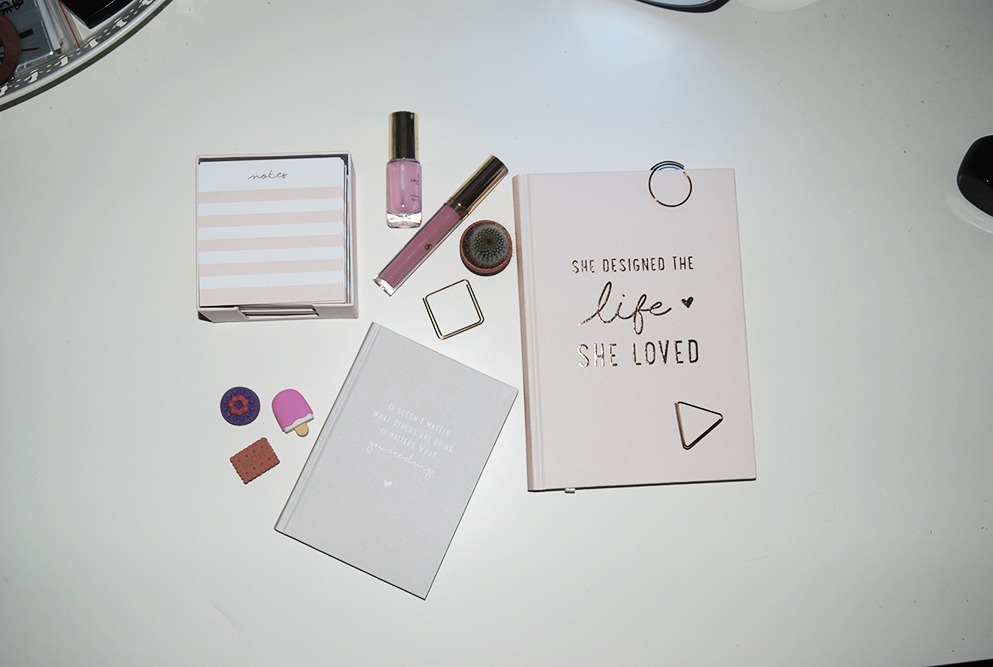
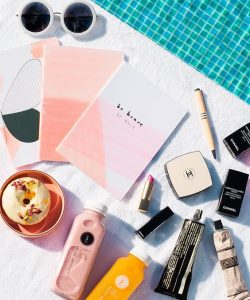
 Like this flatlay: there’s enough space on the left, right, top and bottom of the subjects, so it’s easy to crop
Probeer je foto’s meteen al in een vierkantje te fotograferen. Op je mobiel kun je dit instellen, met een camera is dit iets lastiger (probeer in dat geval ruimte aan de zijkanten te laten, zodat je toch alles op je flatlay hebt staan wanneer je de foto cropt)
Compositie is key
Het hangt helemaal van de items af, maar teveel is nooit goed. Probeer het bij ongeveer zes items te houden en leg er eventueel nog wat bij als het toch te kaal is. Daarna kijk je hoe het eruit ziet. Wanneer je zelf niet tevreden bent over hoe je flatlay eruit ziet, zullen andere mensen dat ook hebben.
Get inspired
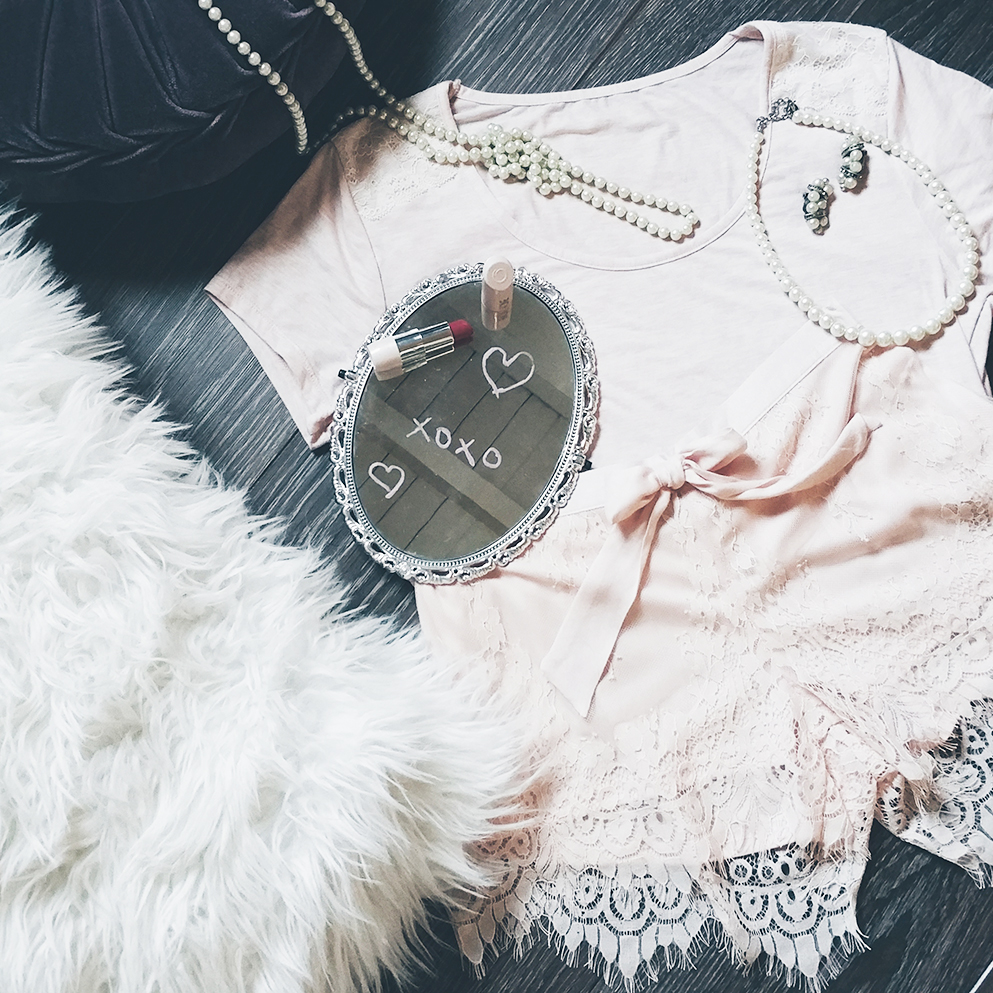
Kijk af bij je favoriete bloggers en zie hoe zij spullen neerleggen. Je moet niet alle foto’s nadoen, maar je kunt zeker kijken hoe een mooie flatlay is gestyled, op welke manier spullen zijn neergelegd en in het begin kun je dit nadoen. Wanneer je de smaak te pakken hebt, kun je afwisselen met andere voorwerpen, maar het begin is dan gemaakt.
Editing is important too
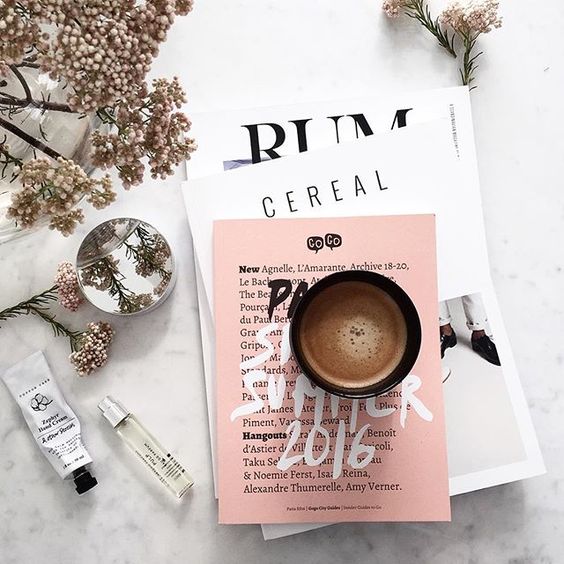
Naast dat de foto scherp moet zijn en er leuk uit moet zien, ben je er nog niet. De nabewerking doet namelijk een hoop. Snijd de foto bij, je kunt hem draaien, de kleur wat aanpassen, helderheid, contrast, je favoriete filter toepassen… Wees creatief en probeer alles uit, net zo lang totdat je je eigen stijl gevonden hebt.
Kies een thema
Instagrammers met veel volgers en likes hebben een feed die er mooi uit ziet. Waar dit door komt? Ze hebben een eenheid gecreëerd. Houd je aan één filter/nabewerking en je zult zien dat het er allemaal wat mooier uit ziet.
Kies een show piece
Als jij een super leuk horloge hebt gekregen en je wilt dat jouw flatlay daarom draait, dan zoek je dus spullen die qua kleur passen bij dat horloge. Ook houd je rekening met het “show piece” qua spullen, want wanneer je flatlay om make-up draait, is het niet logisch om je bord spaghetti ernaast te leggen.
Daglicht
Daglicht is toch echt het mooiste licht, dus probeer uit te vogelen wanneer het licht het mooiste is (welke tijden van de dag) en maak op dat moment zoveel flatlays als je kunt. Op deze manier heb je een voorraadje en hoef je je niet elke dag in het zweet te werken voor the perfect flatlay.
En dat waren ze… Mijn tips voor: the perfect flatlay. Heb jij nog een goede tip? Laat het me dan weten in een reactie!
Flatlays, when you’re on Instagram, you probably see them sometimes. Making the perfect styled flatlay can be a little difficult, but with a few tips and tricks to keep in mind, you’ll come far. In case you have no idea what I’m talking about:
A flatlay is a squared picture, token from above, in which multiple subjects are styled in a certain way and shown in one picture.
 Matchy matchy
 Matchy matchy
Go for colors that match, and more important: that fit your feed. Accent colors can be cool, but when you normally use dark colors and now post a bright colored flatlay in crazy colors, that’s weird. (like, you have to adjust your phone’s brightness)
Styled, but not too styled
It should look styled, but on the other hand it shouldn’t. When you throw your make-up-box on the ground and make a picture of it, you could call it a flatlay. It’s laying flat on the ground and you have picture: flatlay. Done. But whether this will look nice and if you’ll “score” with it on social media… Not sure. However, when you make all your flatlays like this, it could look cool, see… Just gave you an idea.
Styled, but not styled. It’s fun when some products are looking neat next to each other, and a few are put there “accidently”. Ofcourse they aren’t, about everything is thought of.
The square
Try making your pictures in square right away. On your phone you can adjust this, with a camera it can be a little harden (in that case, try to leave some space on the sides, so that you still have everything in your flatlay, once you crop it)
Composition is key
It totally depends on your items, but too much is never good. Try to keep it at six items and put more in your flatlay when it’s not your taste yet. Then you see how it looks. When you’re not satisfied yourself, other people will have this feeling too.
Get inspired
Just look at the flatlays from your favorite bloggers, see how they arrange things. Don’t copy them, but you cán see how they make a beautiful flatlay and copy that way. And then I mean, copying in the way they arrange their flowers and jewelry for example, Once you know how, you can adjust your flatlays with different items.
Editing is important too
Apart from the fact that your photo has to be sharp and look nice, you’re not there yet. Editing does a lot. Crop your photo, turn it a bit, adjust the colors, brightness, contrast, apply your favorite filter.. Be creative and try everything, as long as it takes you to find your own style and make the perfect flatlay.
Choose a theme
Instagrammers with lots of followers and likes, all have a feed that looks good. Their pictures look united, because they stick to one filter.
Pick a show piece
When you got a cute watch and you want your flatlay to be about your watch, you should look for stuff that match yoru watch. Have your showpiece in mind, when it comes to “stuff”. Because when your flatlay is about make-up, it’s not logical to put your plate with spaghetti next to it.
Daylight
Daylight is the most beautiful light, so try to figure out when the light is the most beautiful and then make as many flatlays as possible. This way you’ll have a few photo’s and you don’t have to sweat making flatlays everyday.
And that’s it. These were my tips for: the perfect flatlay. Do you have a great tip? Let me know in a comment below!


Thanks Stephanie! XO
gorgeous flatlays!!!!